

In the captivating world of black and white photography, where the vibrant spectrum of color gives way to a symphony of tones, one element reigns supreme: contrast. More than just the difference between light and dark, contrast is the beating heart of a powerful monochrome image, dictating its mood, defining its forms, and ultimately, delivering its dramatic impact. For photographers in Turkey and the Middle East, a region renowned for its stark light, intricate textures, and historical depth, understanding and mastering contrast is not just an artistic pursuit, but a key to creating truly resonant and SEO-friendly visual content.
Why is contrast so crucial? Because in black and white, it’s what gives your images punch, dimension, and emotional weight. Without it, your photographs can fall flat, appearing muddy or lifeless. With skillful control, however, you can transform a simple scene into a captivating narrative of light and shadow.
Let’s delve into the techniques that will empower you to master contrast and unlock dramatic impact in your black and white photography.
The Two Faces of Contrast: Global vs. Local
Before we dive into techniques, it’s vital to understand the two main types of contrast:
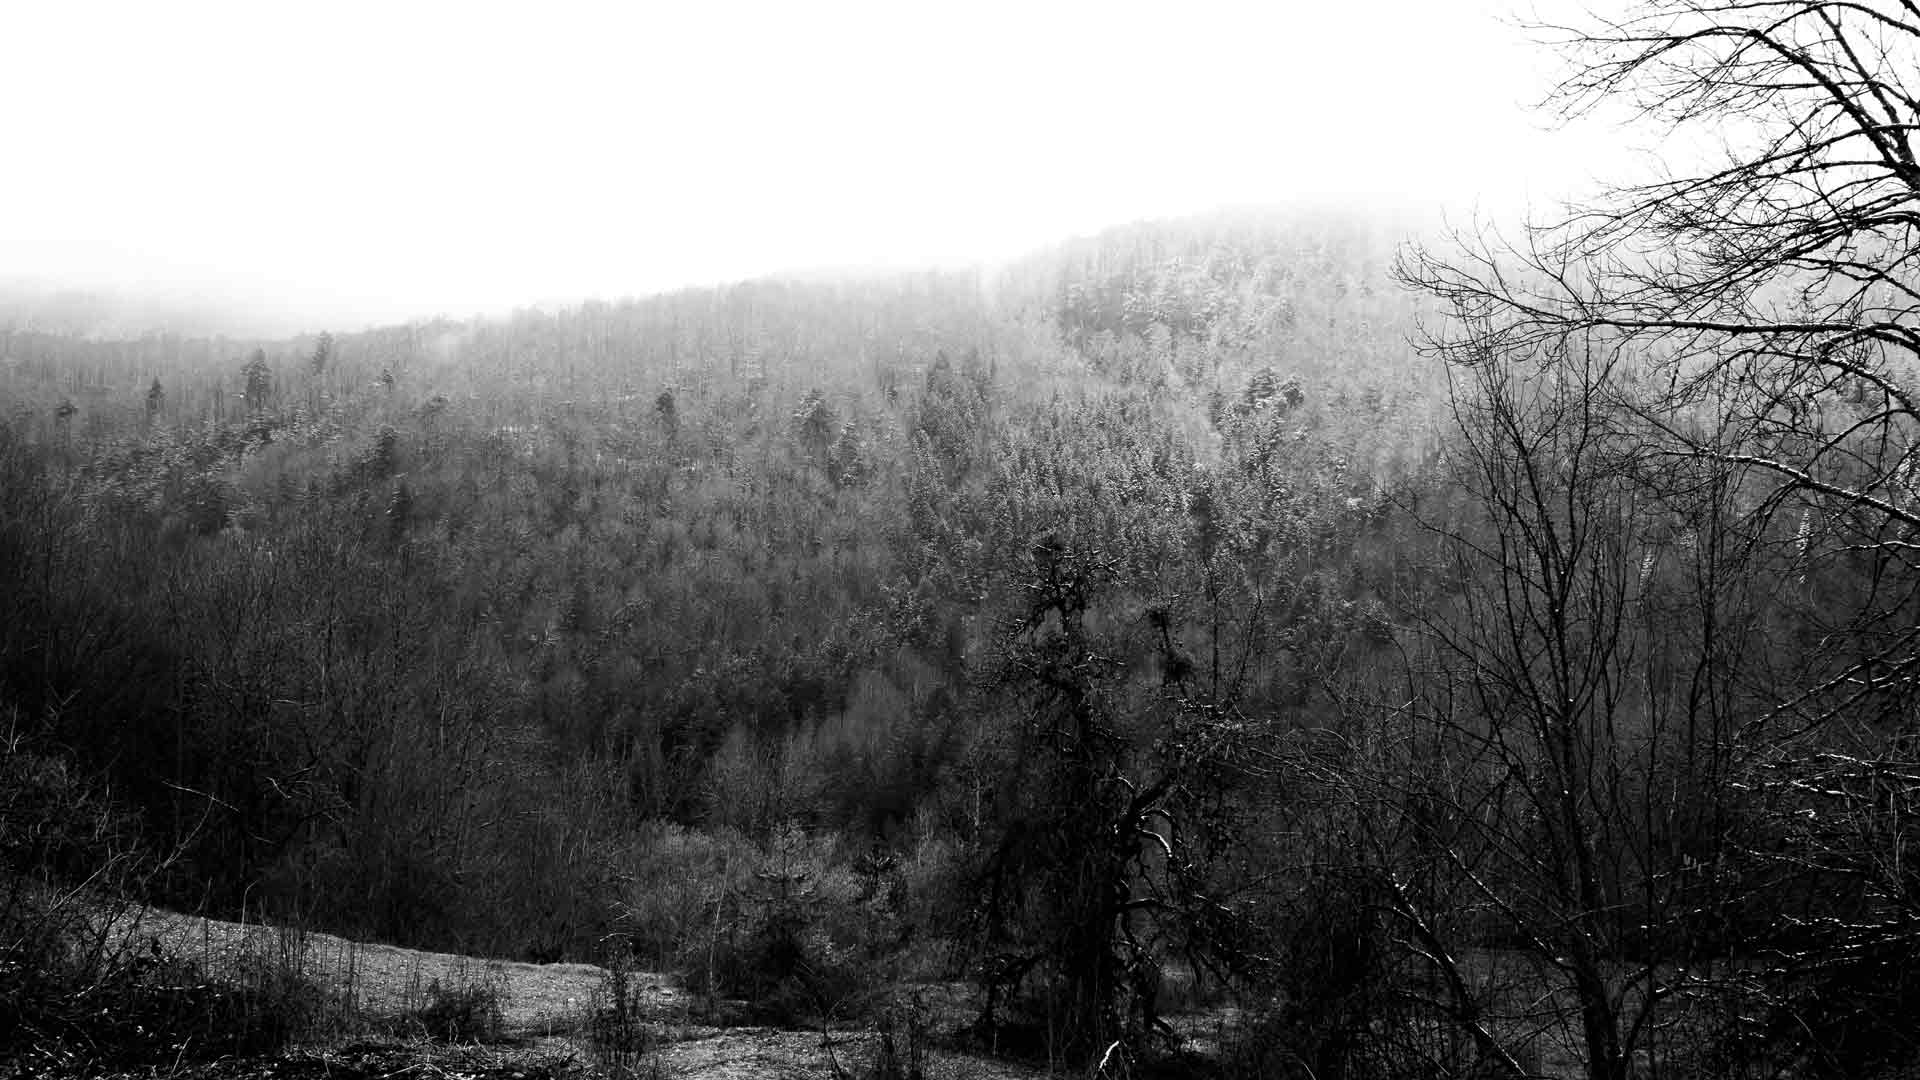
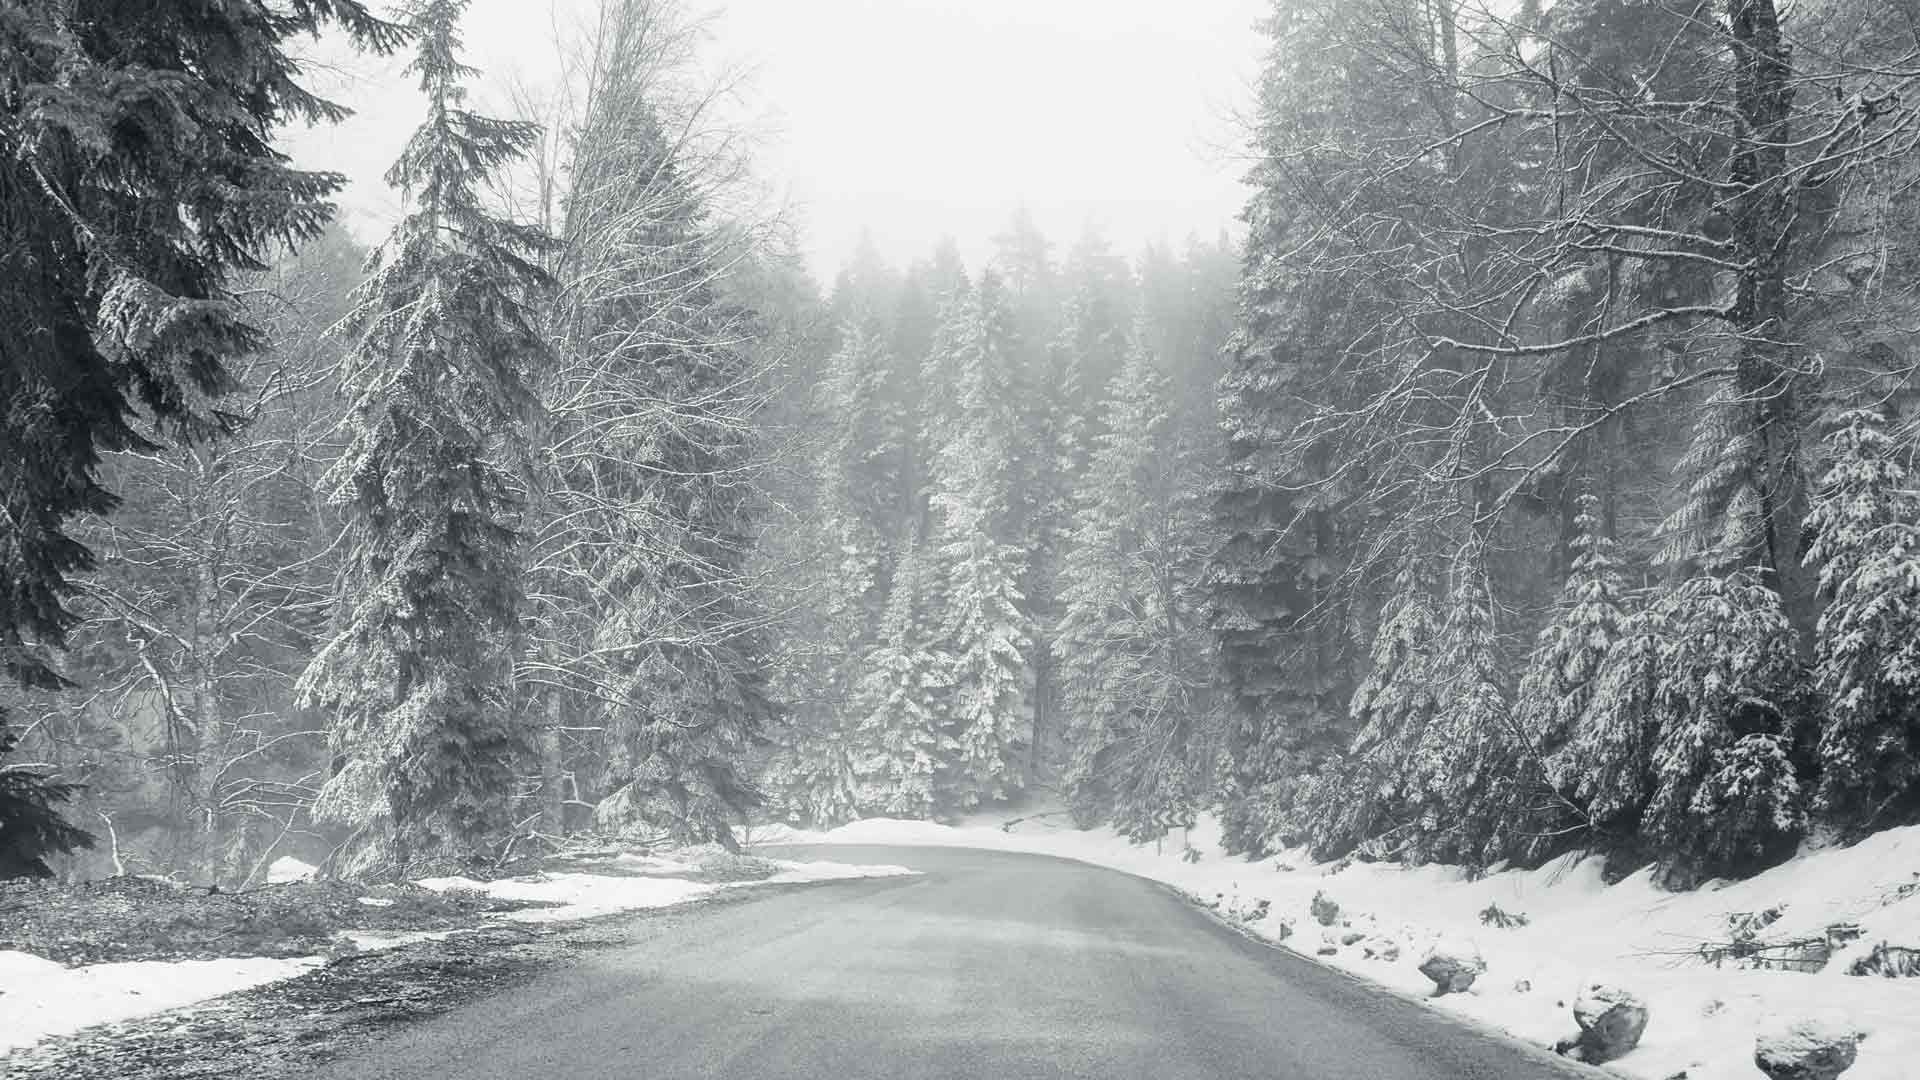
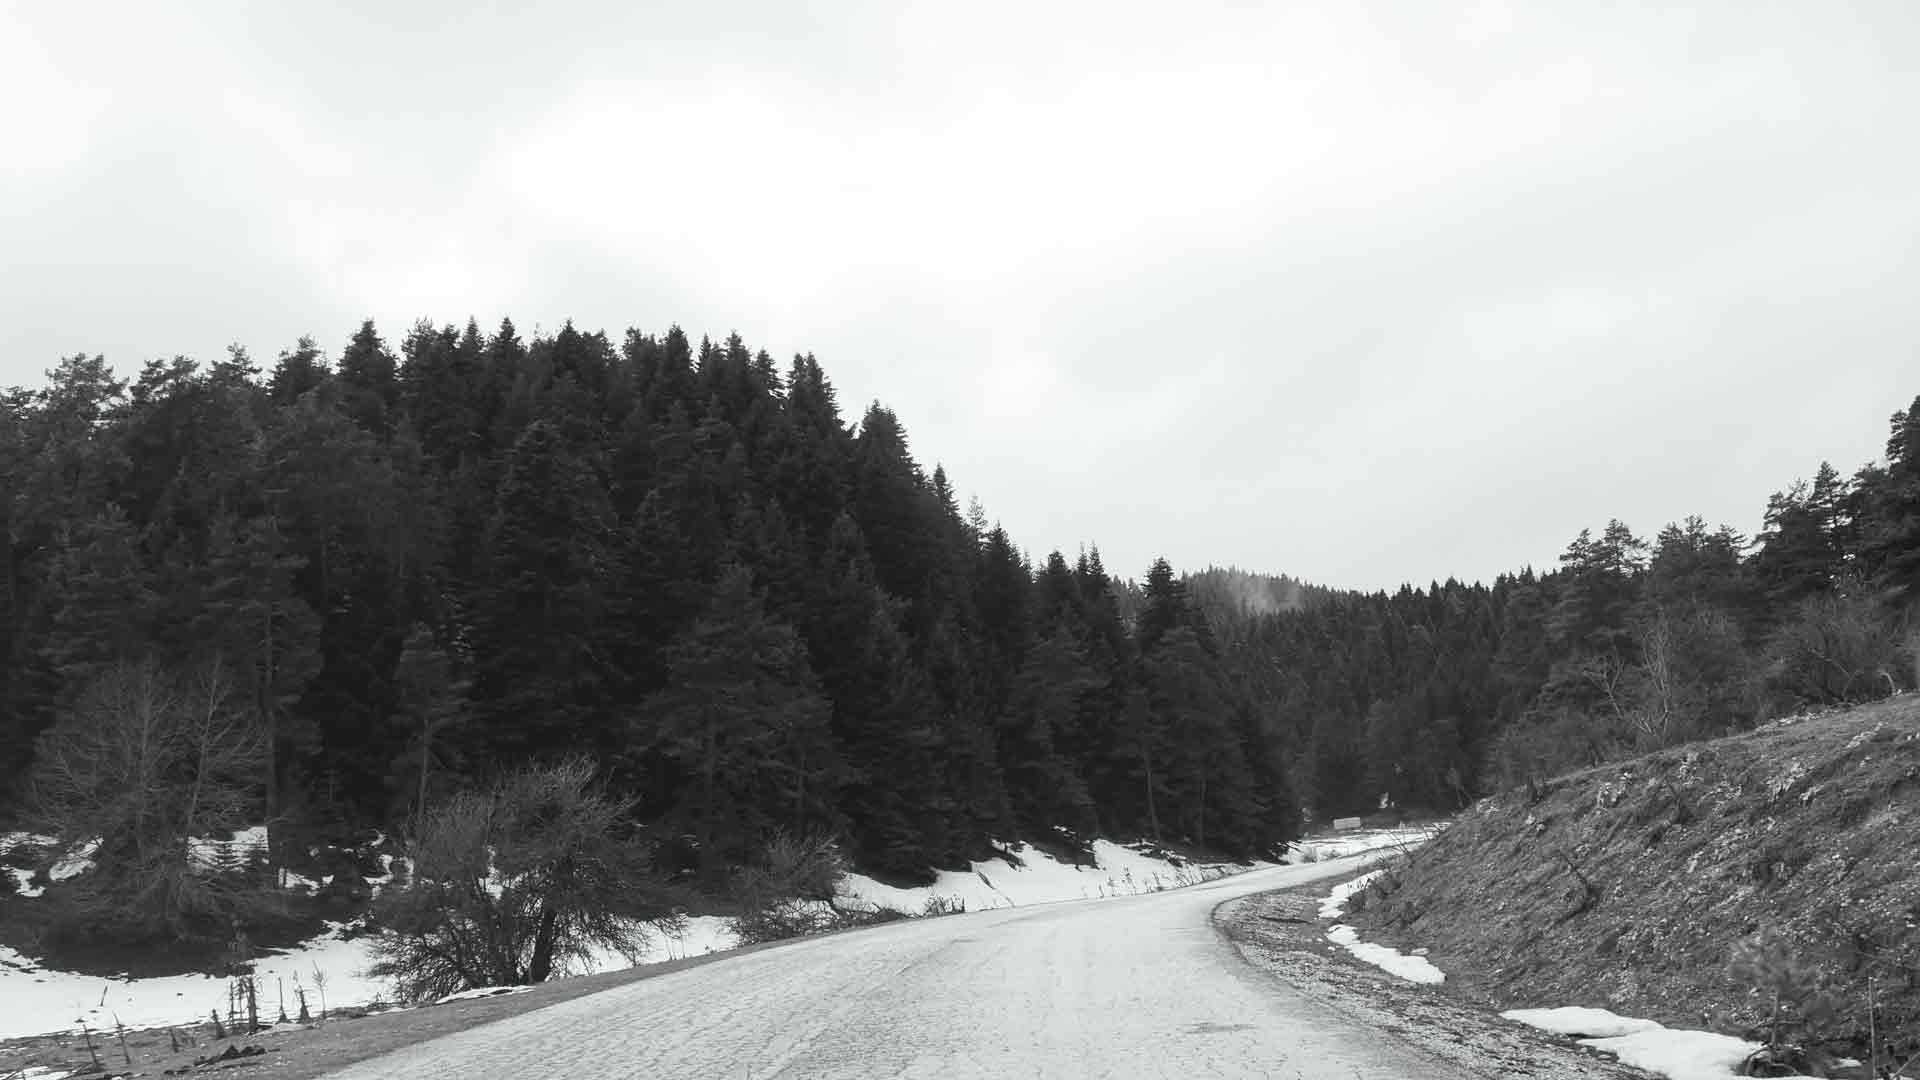
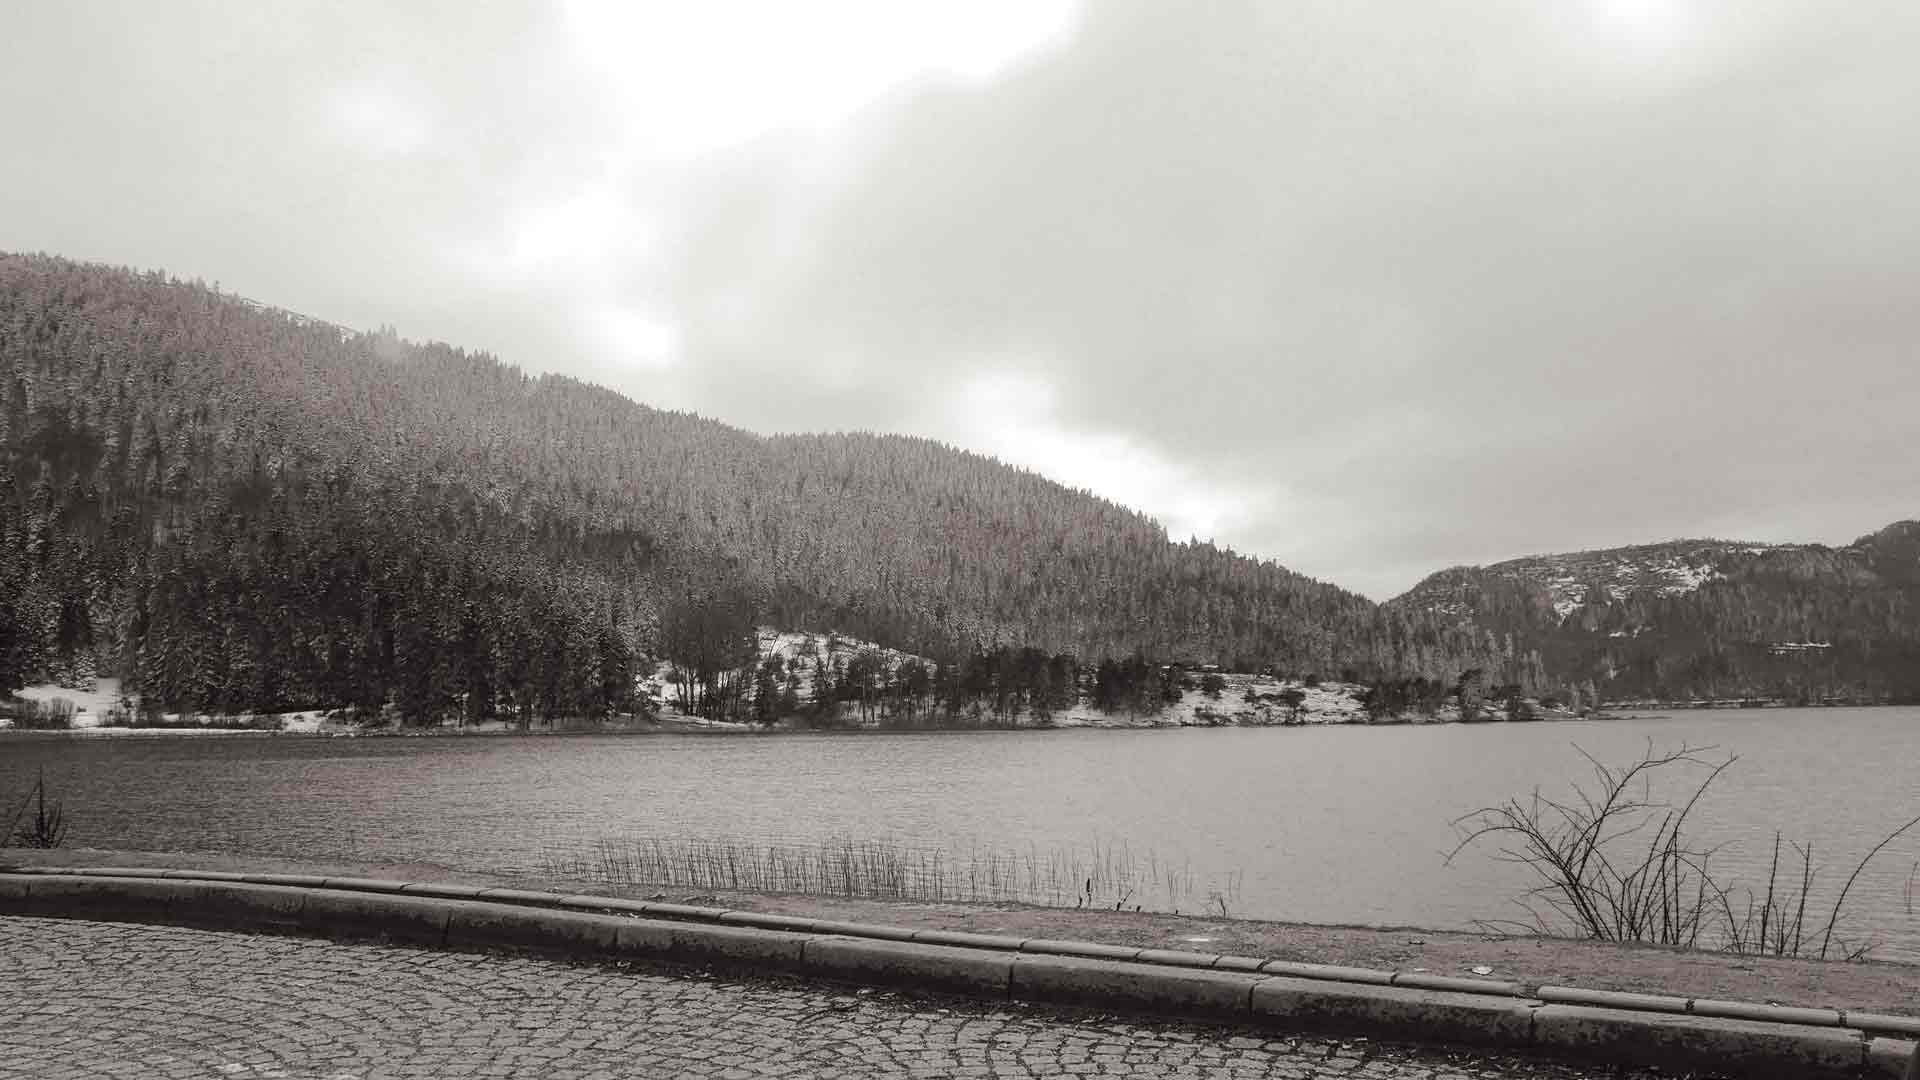
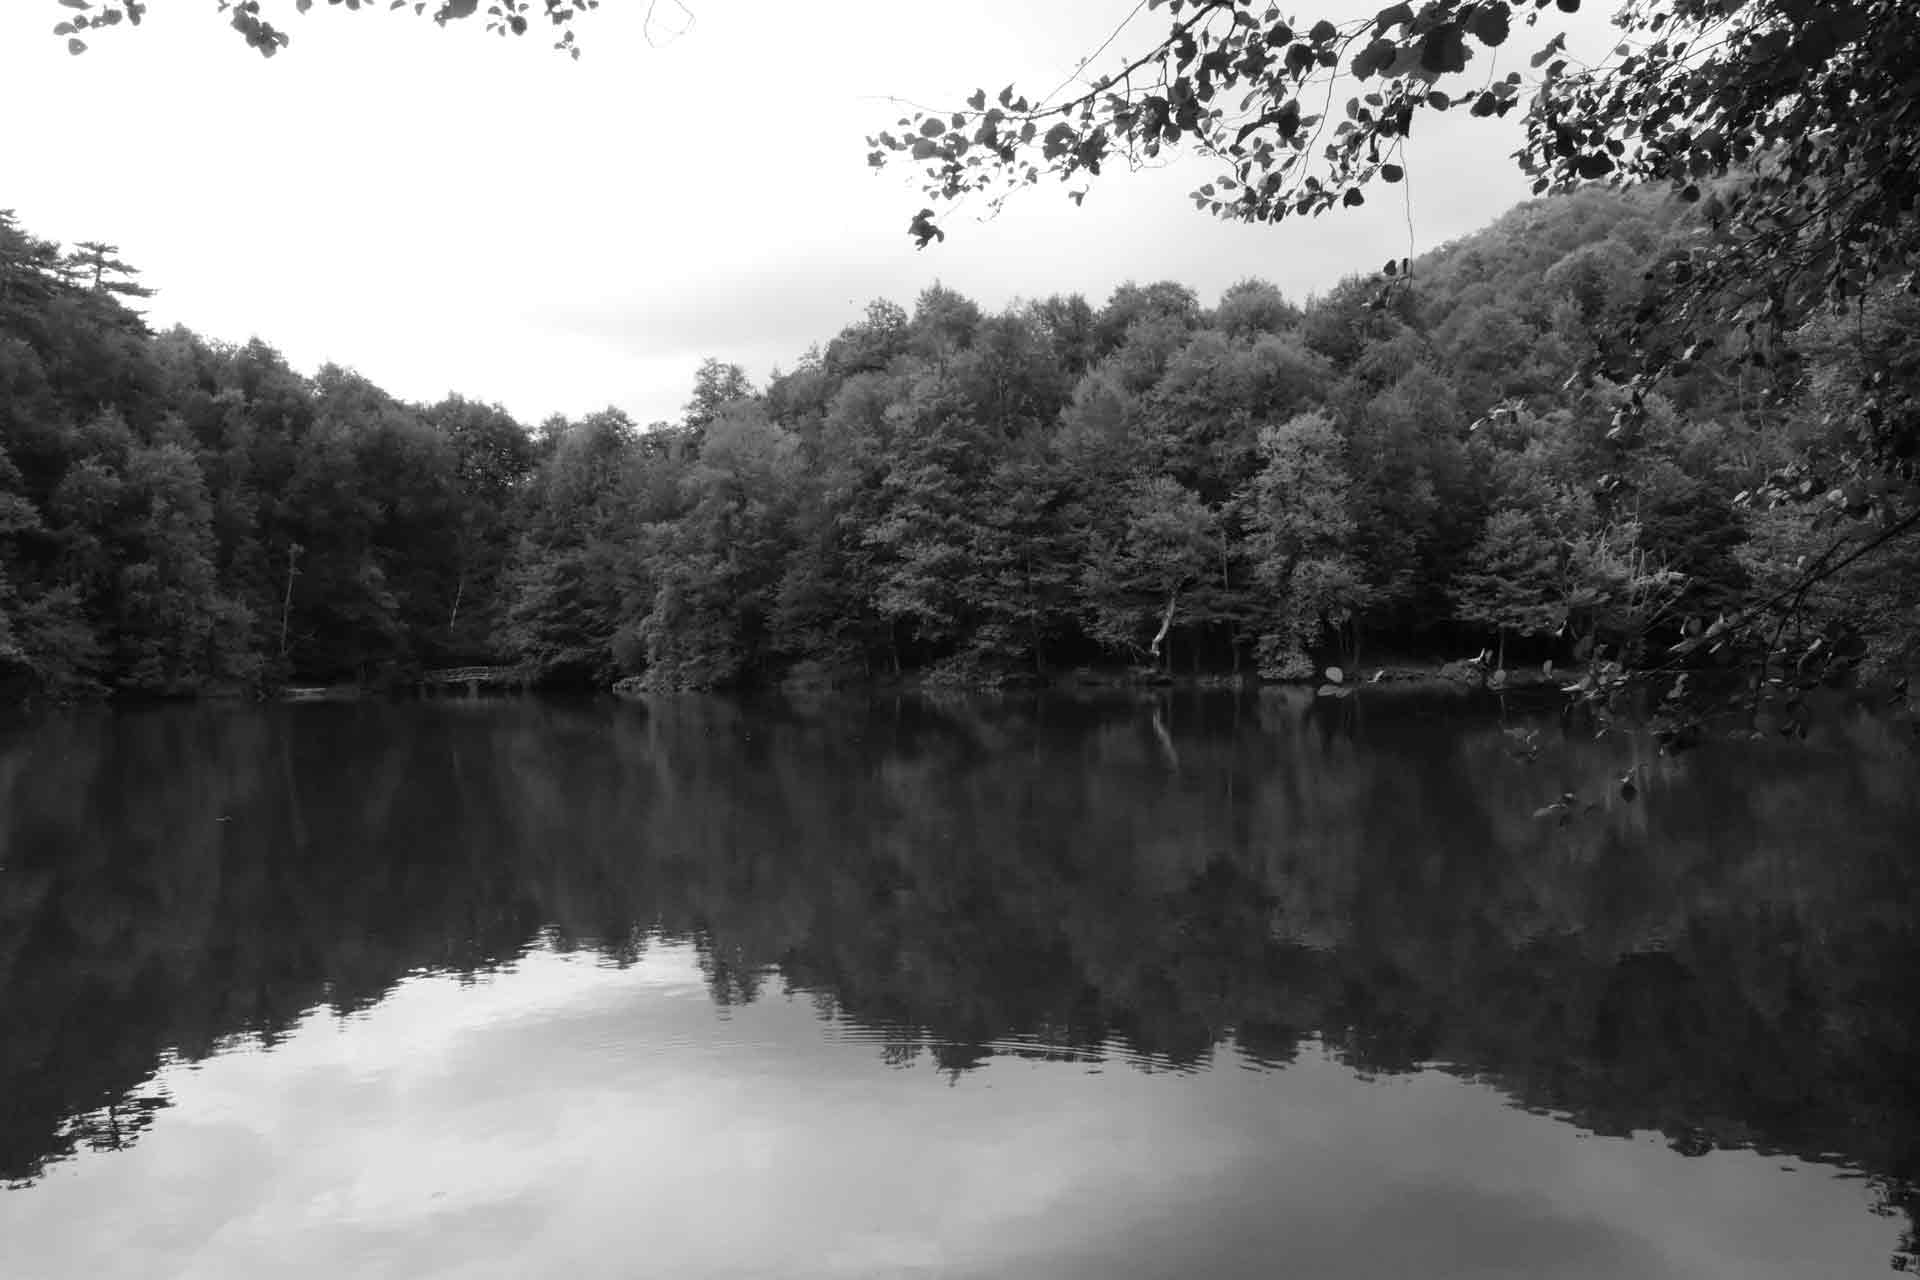
- Global Contrast: This refers to the overall difference between the brightest and darkest points in your entire image. A high global contrast image will have strong blacks and bright whites, with fewer mid-tones, resulting in a bold, graphic look. A low global contrast image will have a narrow range of tones, primarily grays, creating a softer, more subtle, or even melancholic feel.
- Local Contrast: This is the contrast within specific areas of your image, often referring to the subtle differences between adjacent tones. High local contrast enhances details and textures, making them pop. Low local contrast can create a smooth, almost painterly effect.
Mastering dramatic impact in black and white often involves a thoughtful interplay between these two types of contrast.
Techniques for Achieving Dramatic Contrast: In-Camera
The journey to high-impact monochrome begins before you even press the shutter. Training your eye to see contrast is the first, most crucial step.
- Harnessing Directional Light:
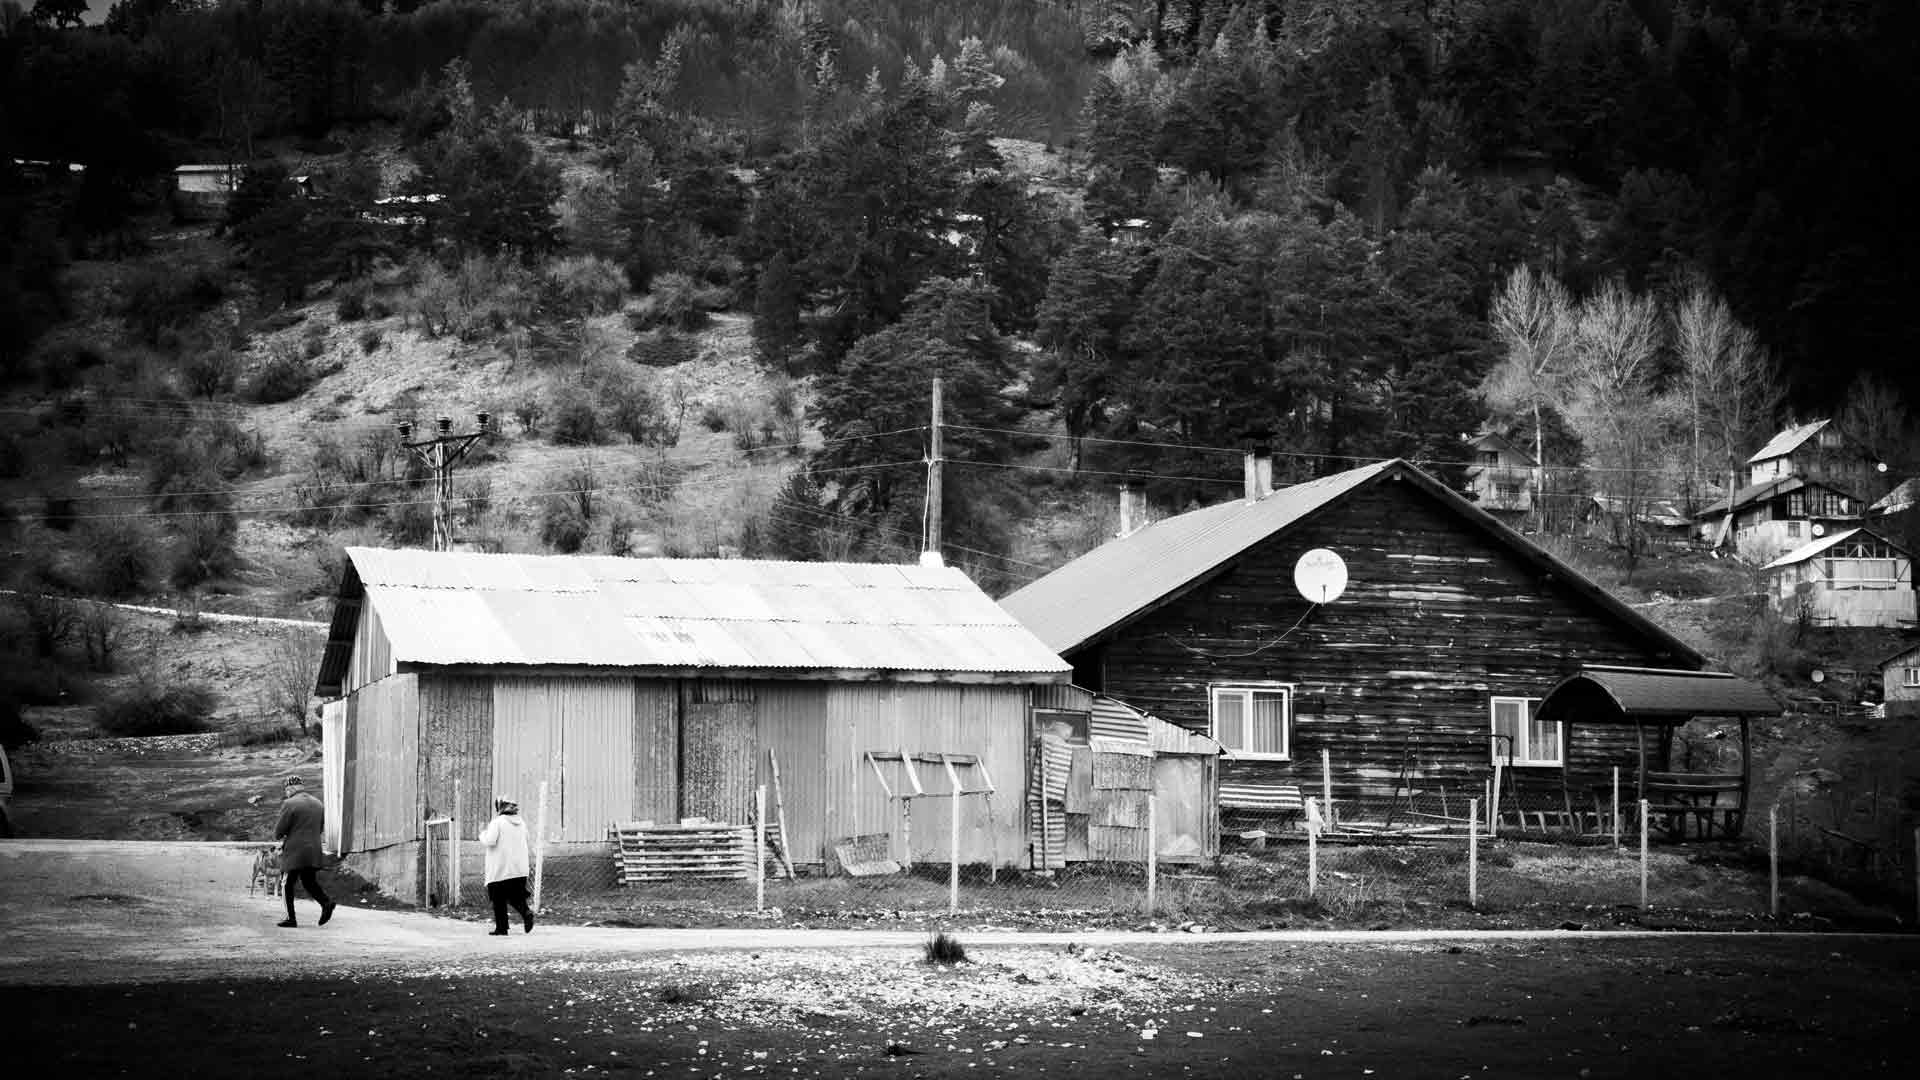
- Side Light (Raking Light): This is your best friend for dramatic contrast. When light hits your subject from the side, it creates pronounced highlights and deep shadows, revealing texture and form with incredible clarity. Think of the midday sun raking across the ancient stone walls of a historical site in Ephesus or the dramatic shadows cast by a minaret.
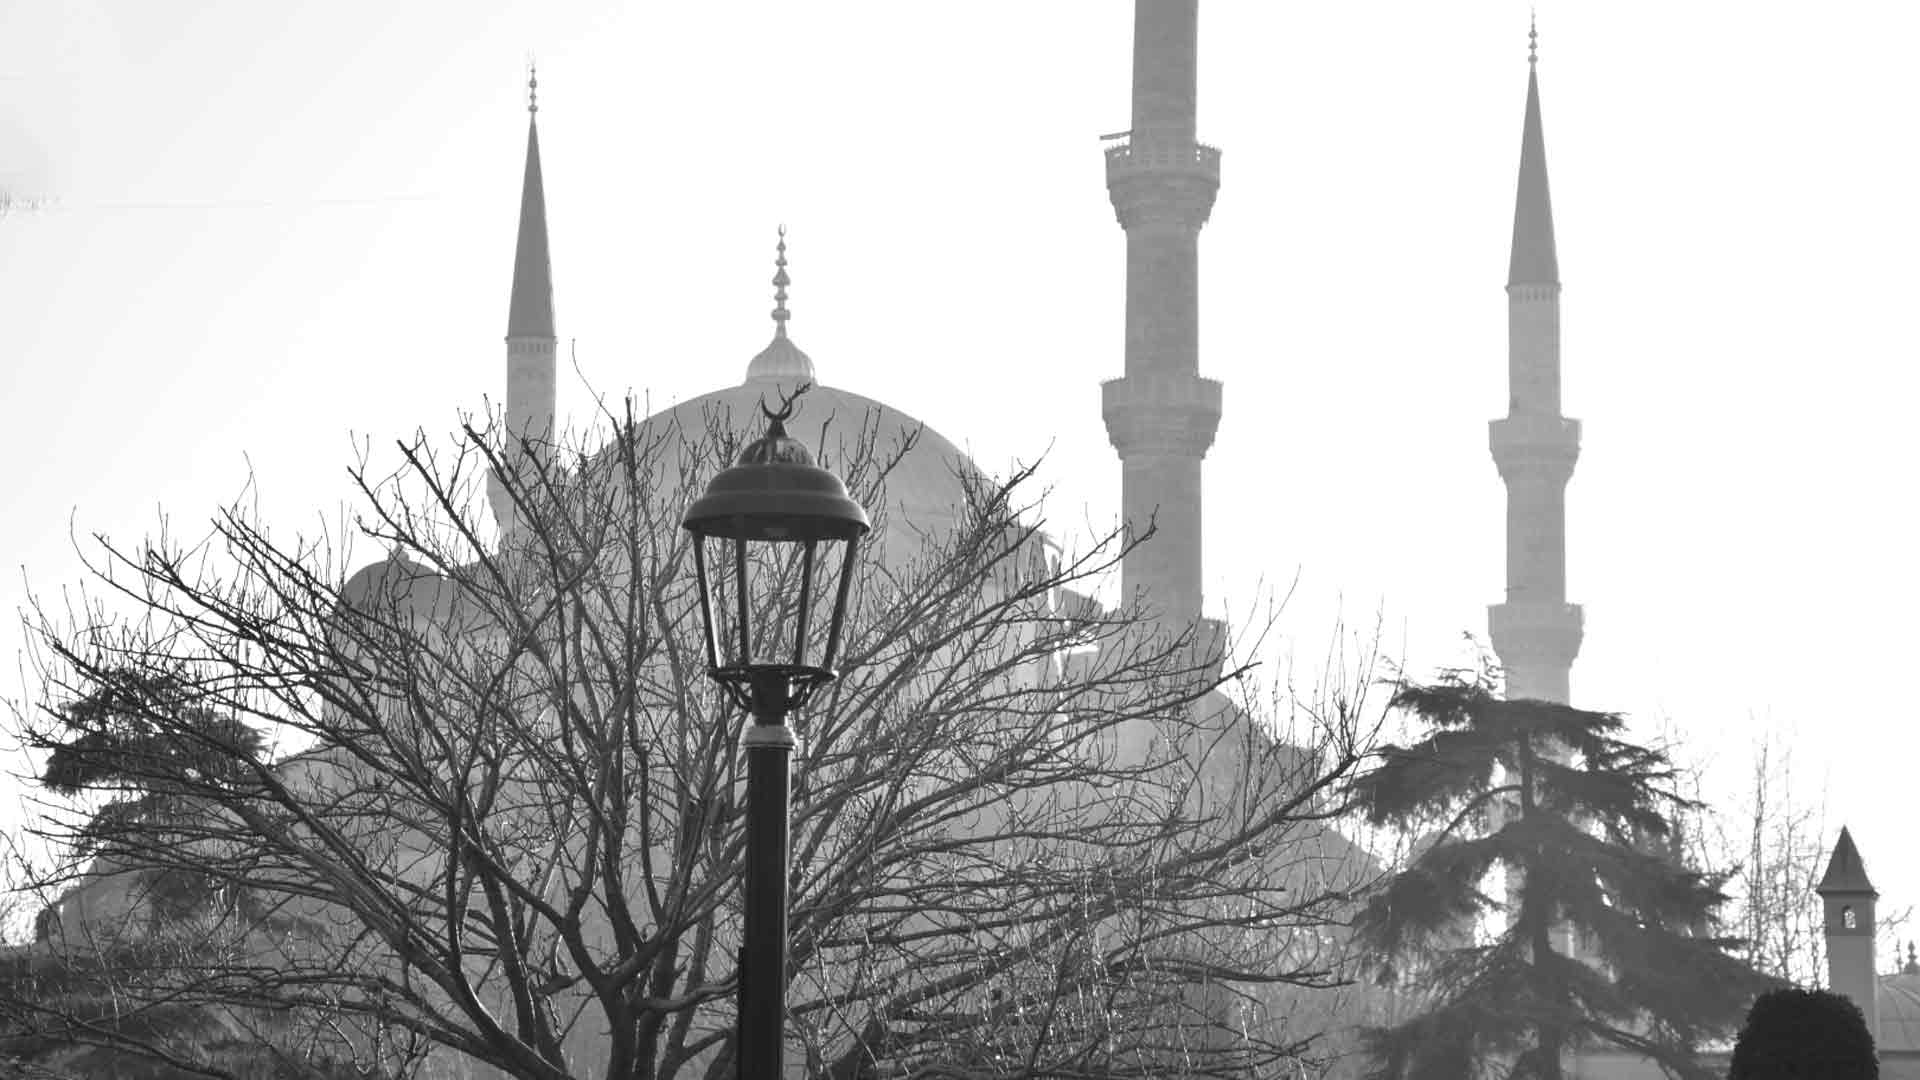
- Backlight: While challenging, backlighting can create stunning high-contrast silhouettes. The subject becomes a dark shape against a bright background, emphasizing form and often evoking mystery. This works beautifully for solitary figures, iconic structures, or even trees against a setting sun.
- Frontal Light (Flat Light): Generally avoid direct frontal light for dramatic contrast, as it tends to flatten scenes and reduce shadows. However, in certain situations, diffused frontal light can work for low-contrast, moody images.
- Seeking Strong Tonal Separation:
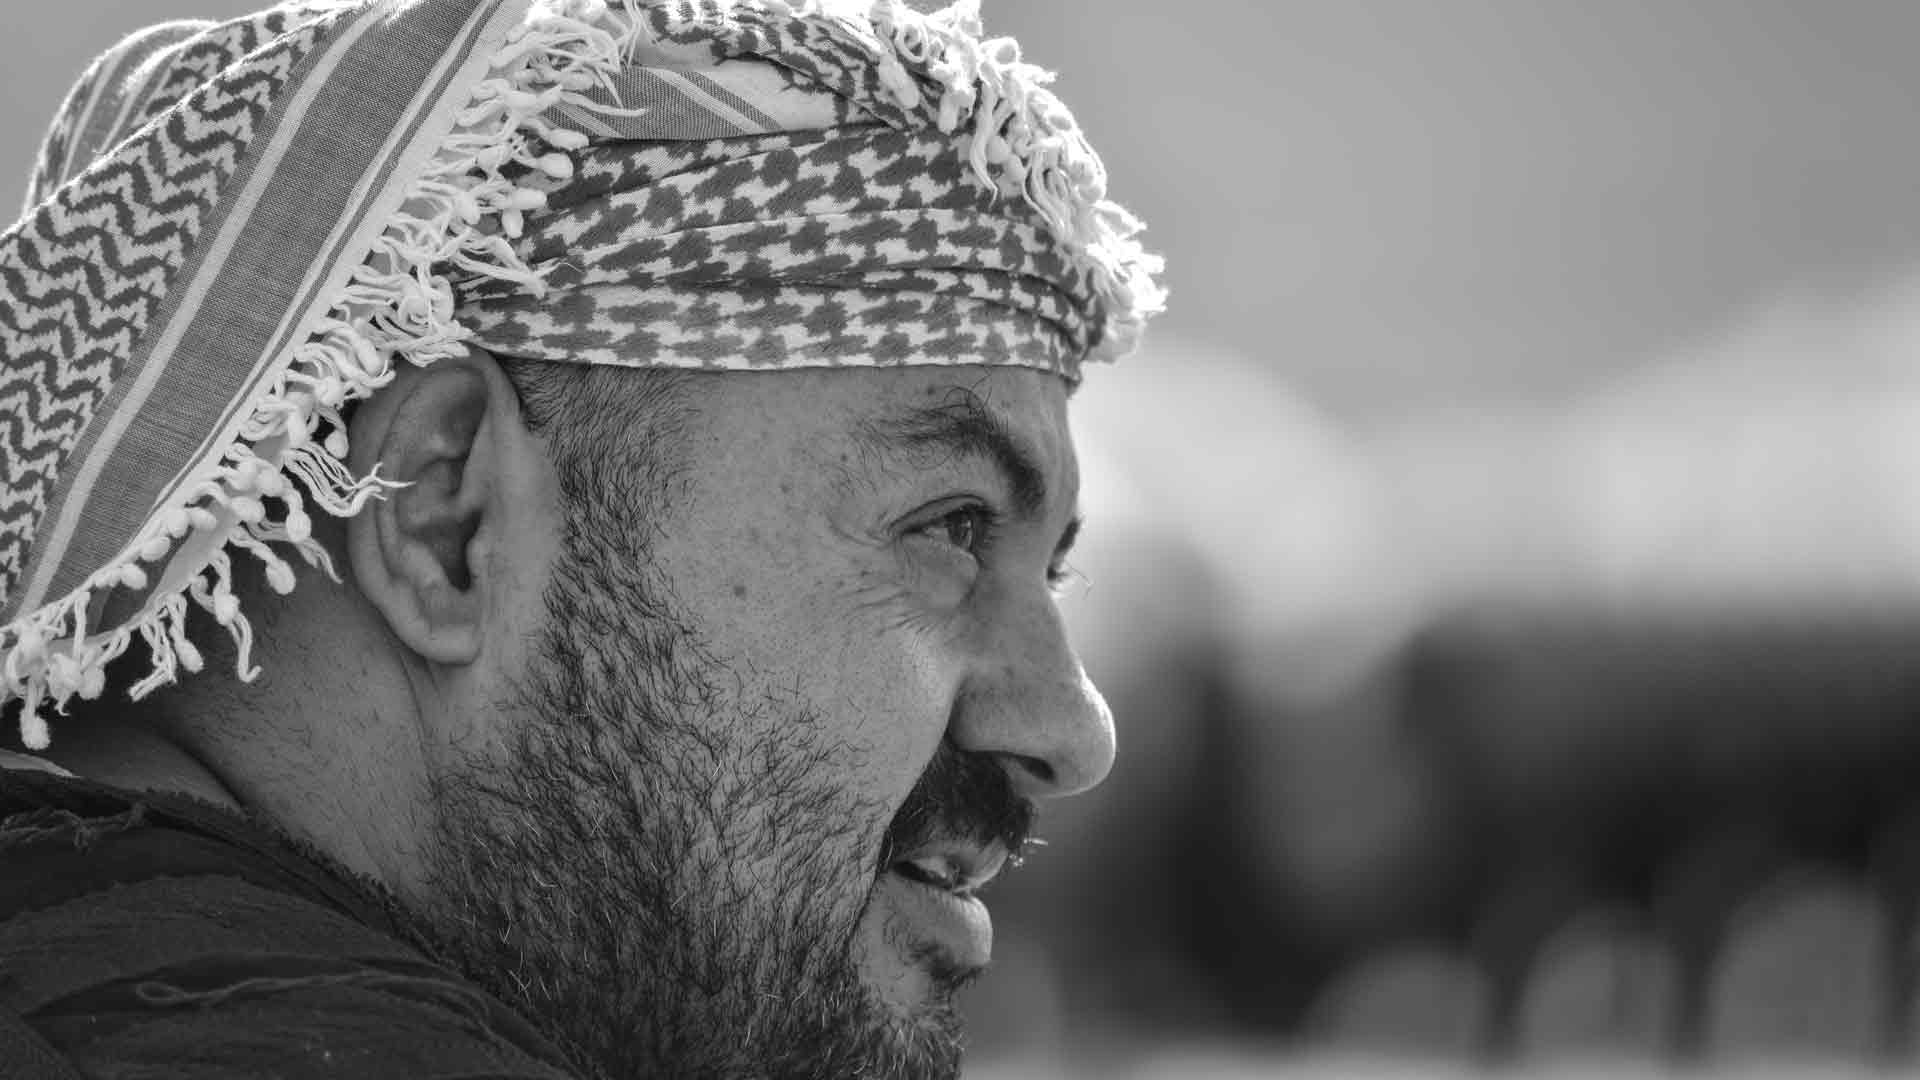
- Before even thinking about composition, analyze the scene for natural tonal separation. Can you find subjects that are inherently much lighter or much darker than their backgrounds or surrounding elements? A white dove against a dark ancient wall, or a person wearing dark traditional clothing against a bright, sunlit street – these provide excellent starting points for contrast.
- The “Squint Test”: A simple yet effective trick. When observing a scene, squint your eyes. This blurs out color and helps you see the underlying tonal values more clearly, allowing you to identify areas with strong inherent contrast.
- Understanding Weather and Time of Day:
- Midday Sun: While often avoided for color photography due to harsh shadows, the strong, direct light of midday in Turkey and the Middle East can be a goldmine for dramatic black and white. It creates deep, defined shadows and brilliant highlights, perfect for graphic compositions and emphasizing texture on architecture or arid landscapes.
- Overcast Days: Paradoxically, overcast days, which offer soft, diffused light, can be excellent for exploring subtle contrasts and textures, leading to rich mid-tones. While not “dramatic” in the high-impact sense, they allow for a different kind of nuanced contrast.
- Golden Hour: The low-angle, warm light of sunrise and sunset, while cherished for its color, also creates long, soft shadows and beautiful gradations that can be manipulated for exquisite tonal range in black and white.
Techniques for Achieving Dramatic Contrast: Post-Processing
The digital darkroom offers immense control over contrast, allowing you to fine-tune and amplify the drama you captured in-camera.
- The Black and White Conversion Module:
- Monochrome Mixers/Channels: Don’t just hit the auto B&W button. Most editing software (Lightroom, Photoshop, Capture One) offers a “Black & White Mixer” or channel adjustments (Red, Yellow, Green, Cyan, Blue, Magenta). By adjusting these sliders, you control how each original color contributes to the grayscale tones. For example, darkening the blue channel can make skies appear more dramatic, while lightening the red/yellow channels can brighten skin tones or warm highlights. Experiment with these to achieve specific tonal separations.
- Clarity/Texture/Dehaze: These sliders primarily affect local contrast.
- Clarity: Increases contrast around mid-tone edges, making objects appear sharper and more defined. Use it to enhance textures and details, but be careful not to overdo it, as it can introduce halos.
- Texture: A newer slider that enhances or softens subtle details without affecting overall contrast as much as clarity. Excellent for bringing out fine textures in fabrics, sand, or rough surfaces.
- Dehaze: Originally for removing haze, it’s fantastic for adding punch and global contrast, especially to skies, by deepening blacks and recovering highlights.
- Levels and Curves Adjustments:
- Levels: This fundamental tool allows you to set your black point (pure black), white point (pure white), and adjust the mid-tones. Dragging the black slider further right will deepen shadows, and dragging the white slider further left will brighten highlights, increasing global contrast.
- Curves: The most powerful tool for contrast control. By manipulating the curve, you can selectively brighten or darken specific tonal ranges. An “S-curve” is the classic way to add global contrast: pulling down the shadow end of the curve and pushing up the highlight end. You can also make more nuanced adjustments for local contrast by creating multiple points on the curve.
- Dodging and Burning:
- These classic darkroom techniques are invaluable for localized contrast control.
- Dodging (lightening): Selectively brighten areas to draw attention, create separation, or enhance highlights.
- Burning (darkening): Selectively darken areas to deepen shadows, add drama, or reduce distractions. This is particularly useful for enhancing skies or creating leading lines with shadows.
- Vignetting:
- A subtle dark vignette can draw the viewer’s eye towards the center of the image, subtly enhancing the dramatic impact by focusing attention on the brighter central elements and making the edges fall into deeper shadow.
The Art of Knowing When to Stop
While the goal is dramatic impact, overdoing contrast can ruin an image.
- Avoid Crushed Blacks and Blown Whites: While strong blacks and whites are key, you generally want to retain some detail in both the darkest and brightest areas. “Crushing” blacks means losing all detail in shadows, and “blowing out” whites means losing detail in highlights, resulting in a flat, harsh look.
- Balance: The most compelling images often find a balance between global and local contrast, delivering overall impact while retaining intricate details.
- The Subject Dictates: Let your subject guide your contrast choices. A stark architectural shot might demand very high contrast, while a moody portrait might benefit from more subtle, nuanced tones.
SEO Implications for Turkey & the Middle East
Creating powerfully contrasted black and white images isn’t just about art; it’s about attracting your target audience. People searching for “black and white photography Turkey,” “Middle East monochrome art,” or “dramatic black and white landscapes” are looking for visually striking content. By mastering contrast, your images will inherently be more engaging and shareable. Use descriptive alt text and image captions that highlight the contrast, light, and emotional impact. Mention specific locations and subjects that benefit from strong monochrome treatment (e.g., “Dramatic B&W of Hagia Sophia’s textures,” “High-contrast street photography in Istanbul Bazaar”).
Conclusion
Contrast is the cornerstone of compelling black and white photography. It’s the silent language that speaks volumes, transforming ordinary scenes into extraordinary visual narratives. By understanding the interplay of light and shadow, and by employing both in-camera and post-processing techniques, you can wield contrast as a powerful tool to evoke emotion, emphasize detail, and create truly dramatic and memorable images. For photographers exploring the rich visual tapestry of Turkey and the Middle East, mastering contrast is not just a technique; it’s an essential skill for capturing the timeless soul of this captivating region in monochrome. So go forth, experiment, and let the shades of gray tell your dramatic story.