


In the darkrooms of old, photographers wielded their magic with humble tools: hands, cardboard cutouts, and controlled exposures. They were literally “dodging” (lightening) and “burning” (darkening) areas of their prints, sculpting light and shadow to guide the viewer’s eye and amplify emotion. In today’s digital age, this fundamental technique remains one of the most powerful tools in a black and white photographer’s arsenal. For those capturing the dramatic light and intricate details of Turkey and the Middle East, mastering digital dodging and burning is essential for transforming a good monochrome image into a truly captivating masterpiece that stands out and achieves better SEO in searches like “digital dodging and burning tutorial,” “sculpting light B&W photography,” or “advanced monochrome editing techniques.”
Dodging and burning isn’t just about making things brighter or darker; it’s about emphasis, de-emphasis, and creating a focal point. It’s about bringing out the inherent drama of a scene, enhancing textures, and guiding the viewer’s gaze through your carefully composed frame. Without the distraction of color, the interplay of light and shadow becomes the primary language of your photograph, and dodging and burning allows you to articulate that language with precision.
Let’s dive into the art and science of digitally sculpting light and shadow for powerful black and white images.
The Philosophy: Why Dodge and Burn?
Before clicking a single slider, understand the why behind dodging and burning:
- Guiding the Eye: Our eyes are naturally drawn to the brightest parts of an image and areas of high contrast. By strategically lightening specific elements and darkening others, you can subtly (or dramatically) direct the viewer’s attention to your main subject and create a visual path through the photograph.
- Enhancing Depth and Dimension: By increasing contrast in certain areas (e.g., brightening highlights and deepening adjacent shadows), you can create the illusion of three-dimensionality, making objects “pop” from the background.
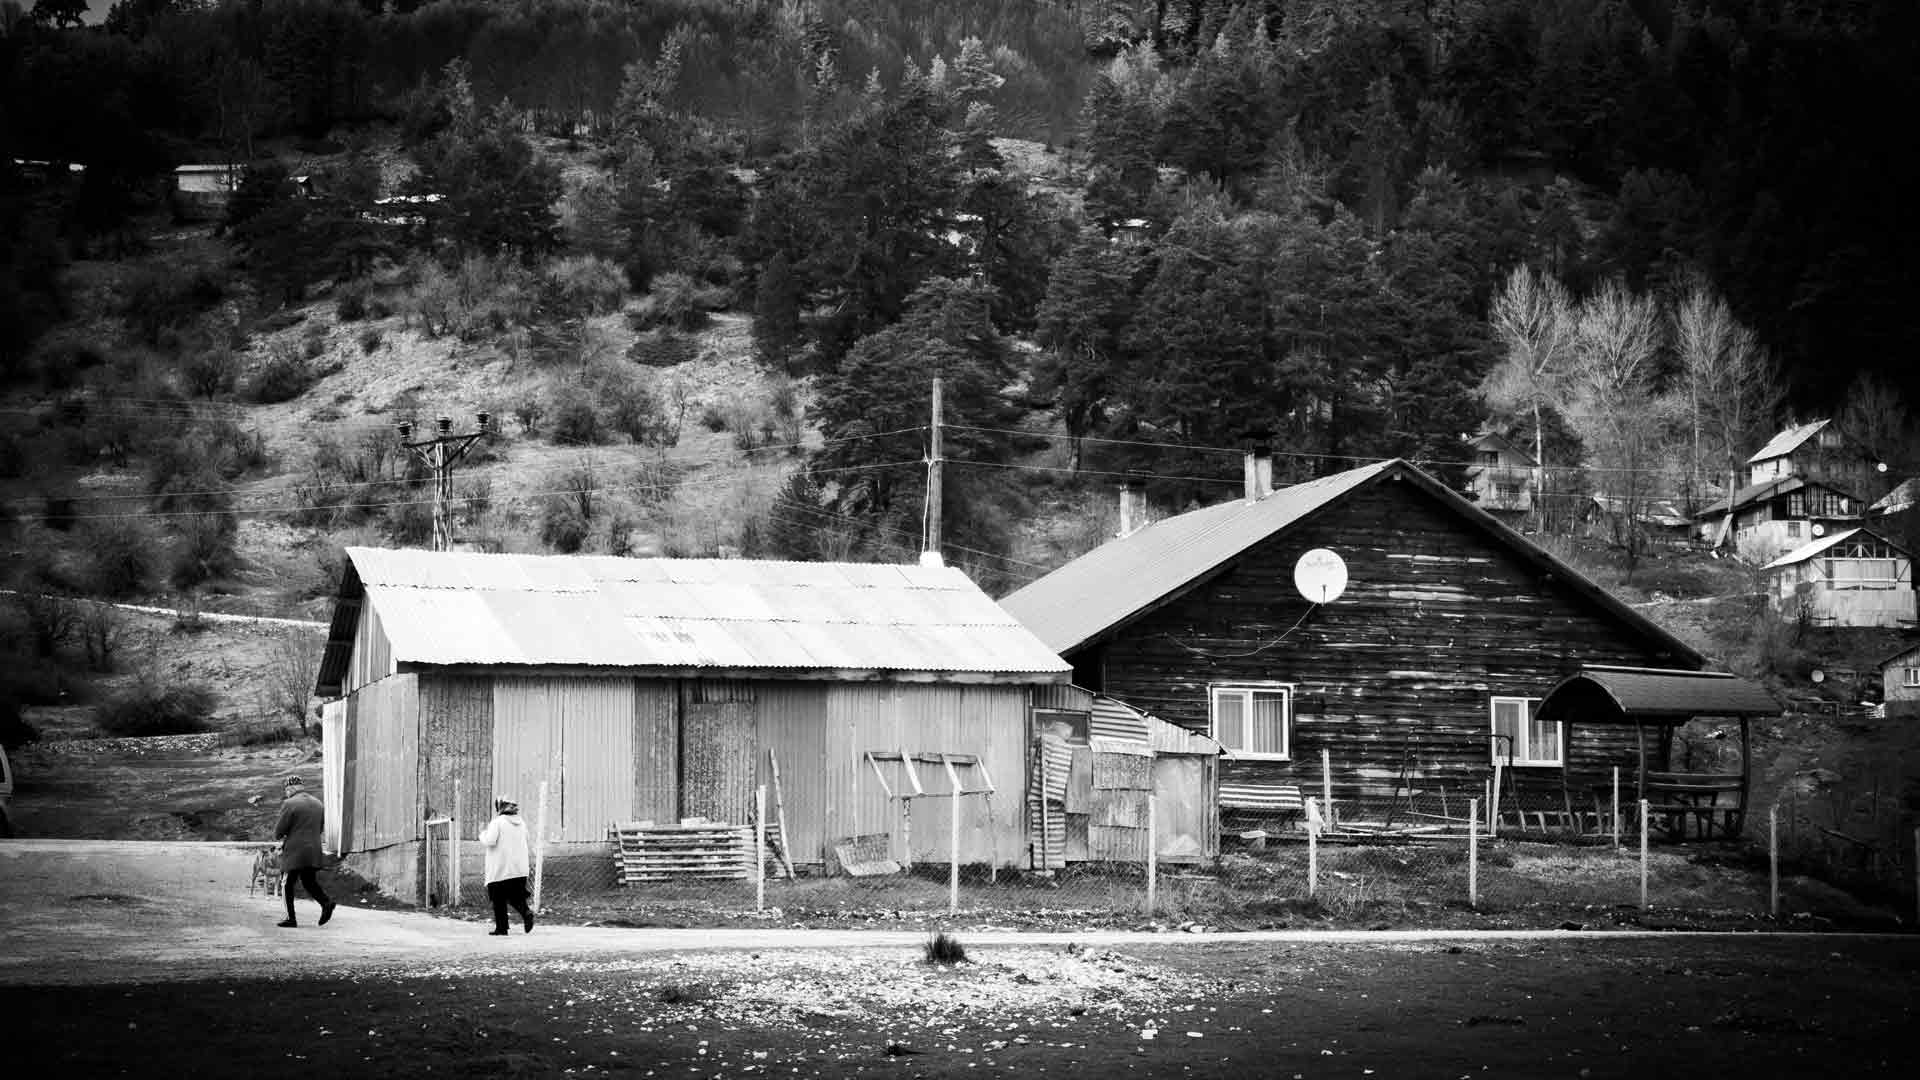
- Emphasizing Texture: Light raking across a textured surface creates micro-shadows and highlights. Dodging the highlights and burning the shadows around these textures can dramatically enhance their tactile quality, making worn stone, rugged fabrics, or weathered wood truly sing.
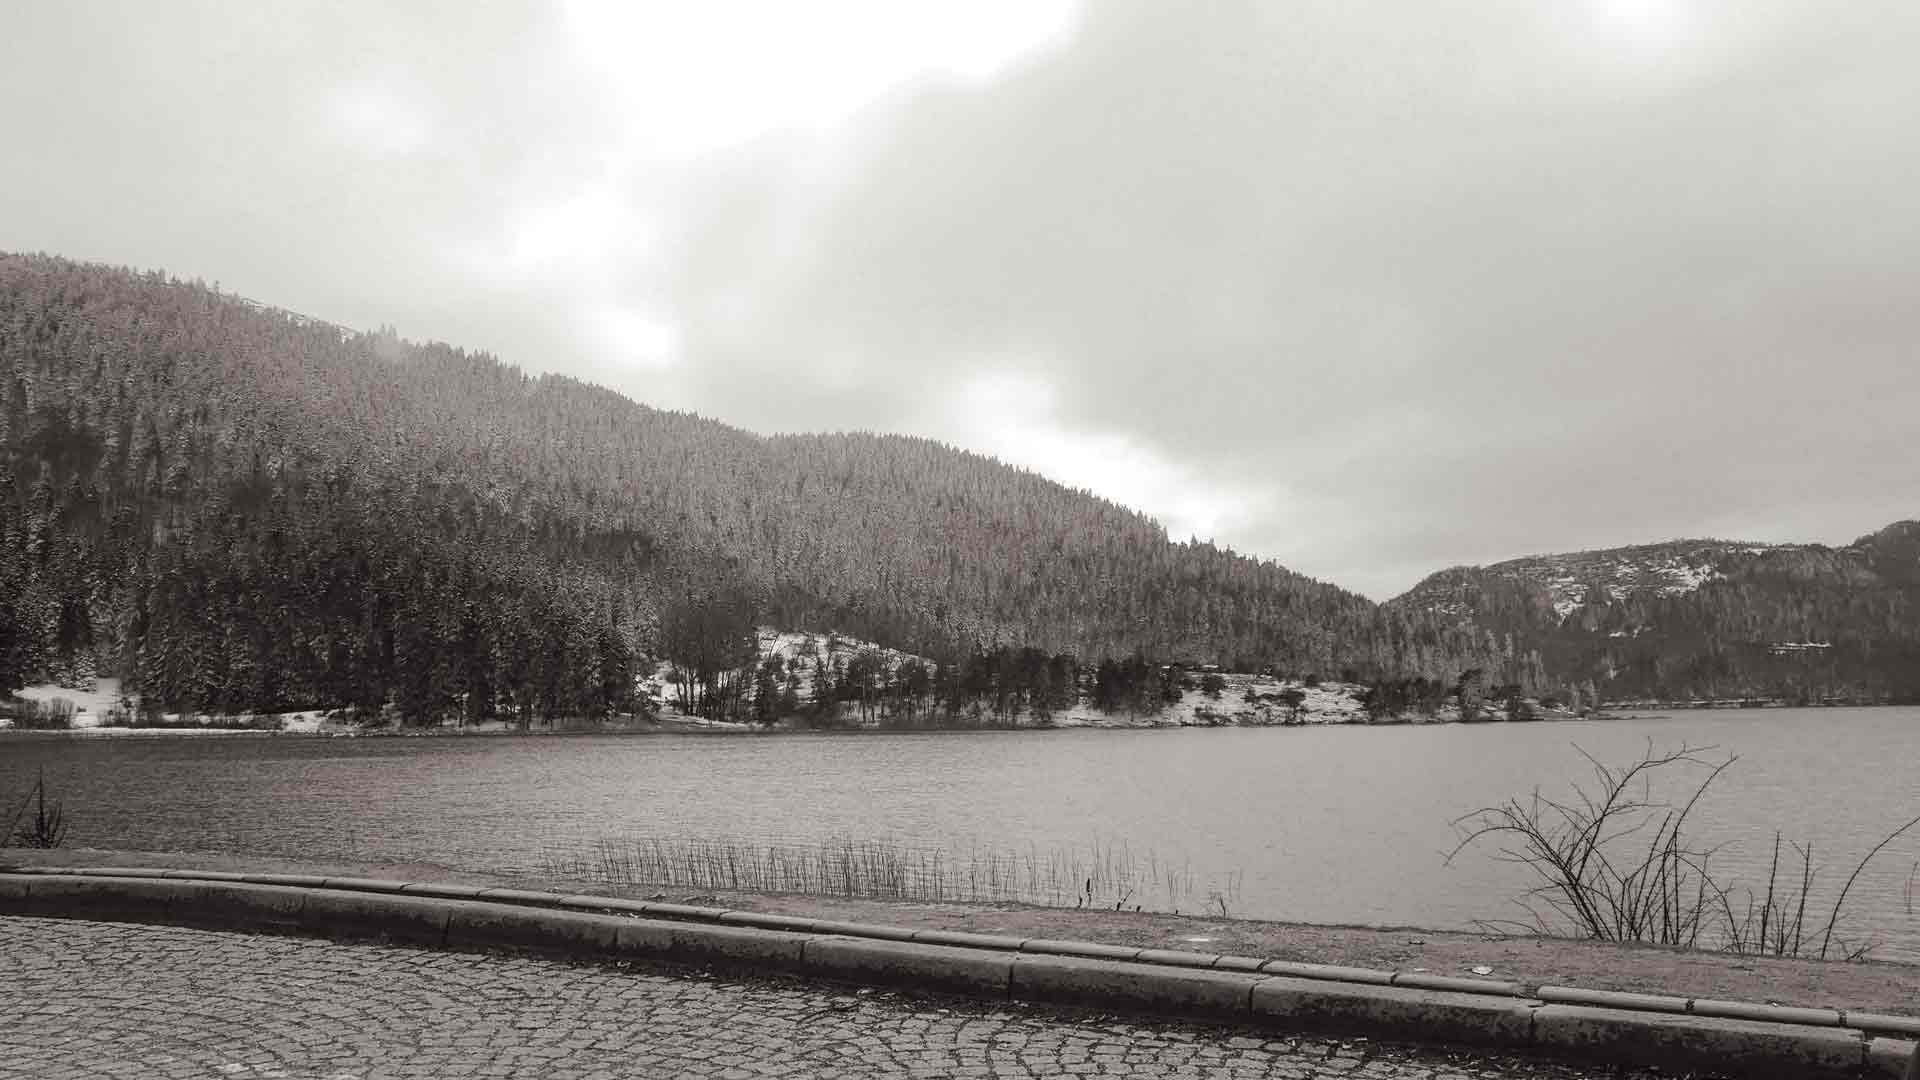
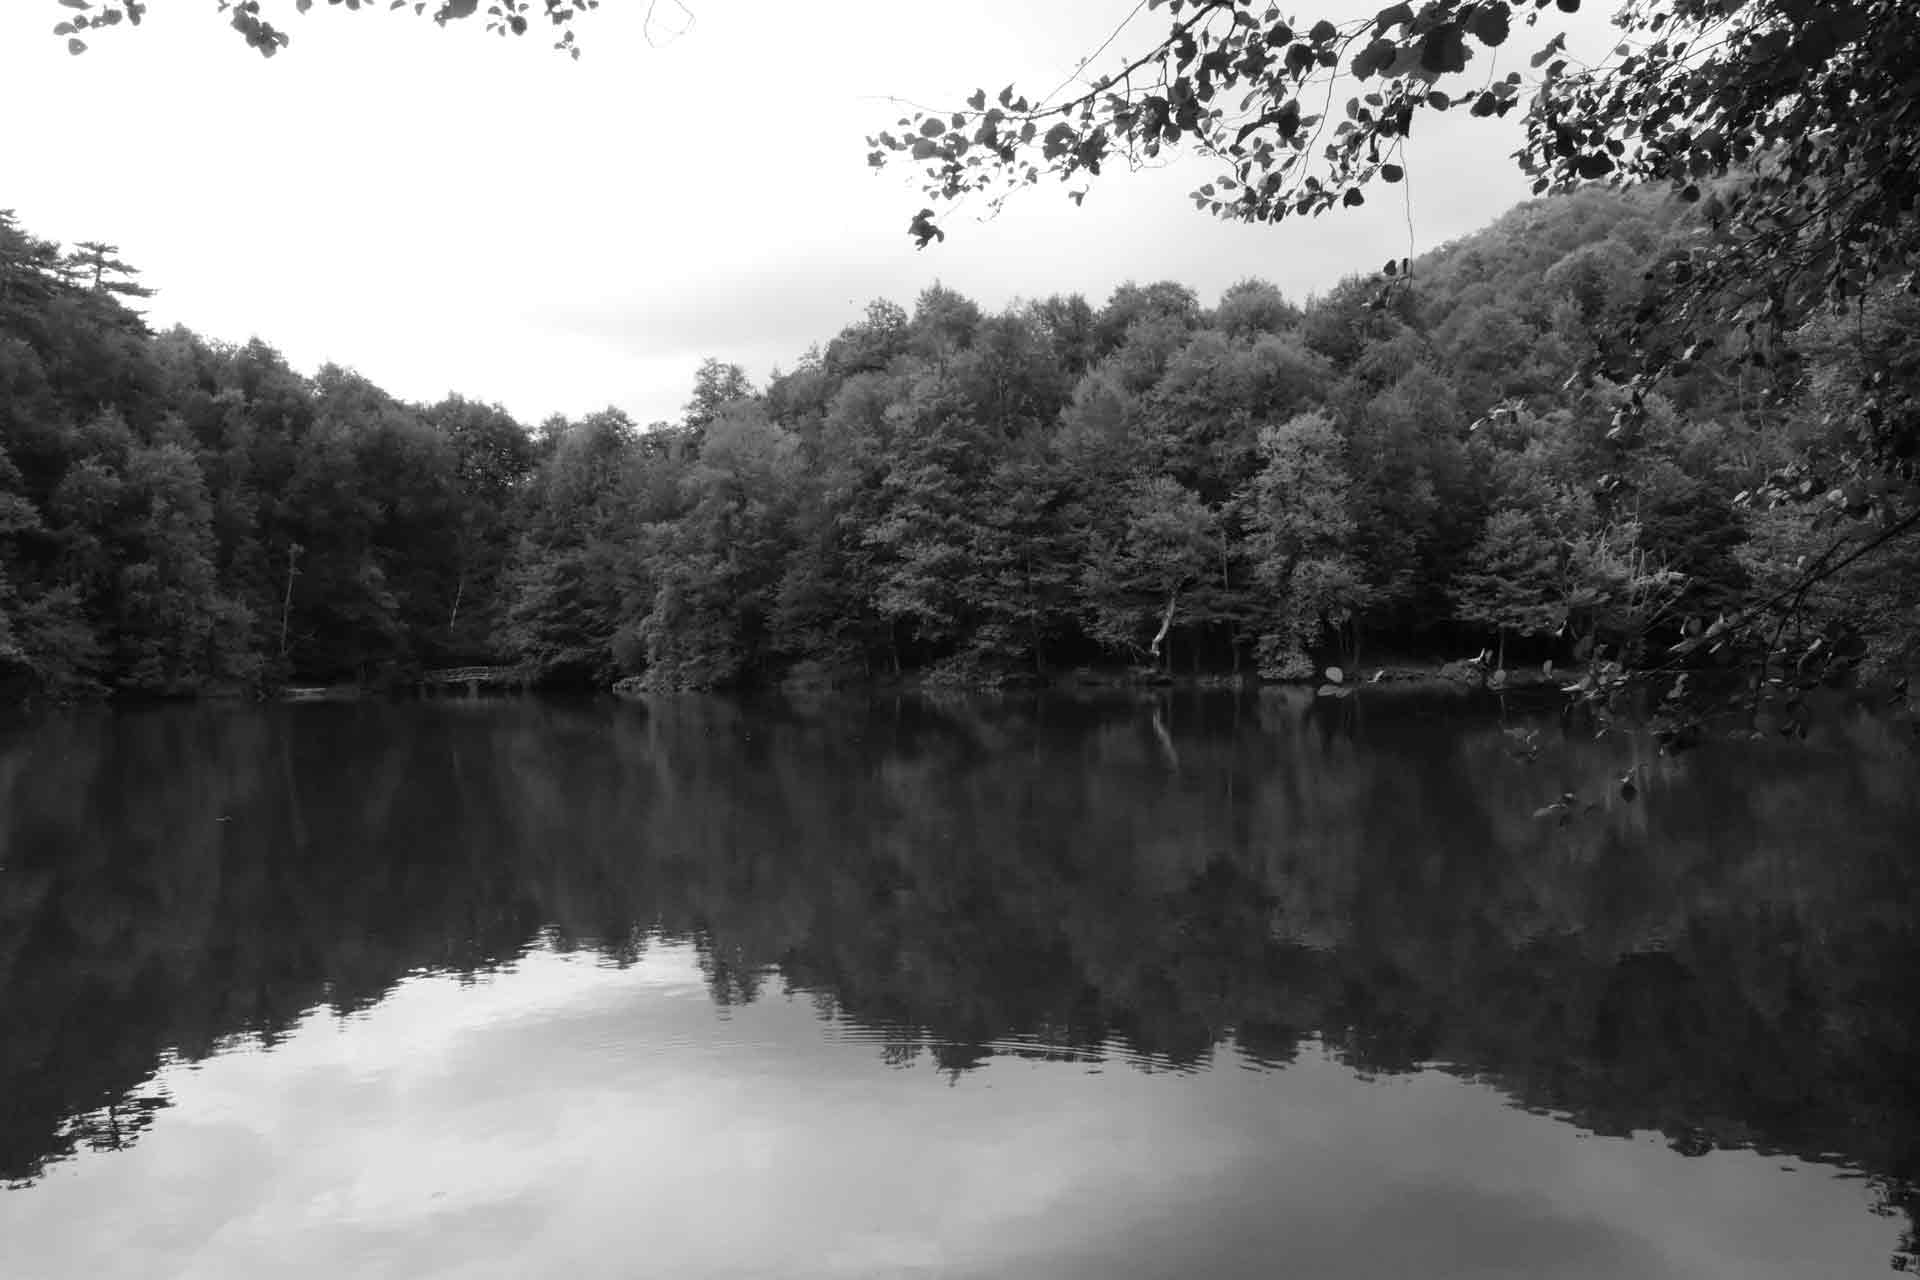
- Creating Mood and Drama: Darker, moodier images often benefit from burned edges to create a vignetting effect that focuses attention. Bright, airy images can be enhanced by selectively dodging bright areas to reinforce that feeling.
- Fixing Distractions: Sometimes, a bright, distracting element in the background can pull the eye away. Burning it down can effectively neutralize it. Conversely, a crucial detail might be lost in shadow; dodging it can reveal it.
The Digital Tools: Your Modern Darkroom
Most modern photo editing software offers robust tools for dodging and burning. While the specific names might vary, the principles remain the same.
1. Adjustment Brushes (Lightroom/Adobe Camera Raw): * How it Works: These are arguably the most intuitive tools for localized adjustments. You select the Adjustment Brush (or “Masking” panel in newer Lightroom versions), choose “Exposure” (to lighten or darken), “Highlights,” “Shadows,” “Contrast,” or “Clarity/Texture,” and then paint directly onto your image. * Best Practices: * Low Flow/Opacity: Start with a very low flow or opacity (e.g., 5-15%). It’s much easier to build up the effect gradually than to apply too much and try to pull it back. This creates smooth, natural transitions. * Feathering: Use a soft-edged brush (high feathering) to avoid harsh lines. * “Show Overlay”: Use the overlay feature (often a colored mask) to see exactly where you’re painting. * Create Multiple Brushes: Instead of doing all your dodging and burning on one brush, create separate adjustment brush layers for different areas or effects (e.g., one for brightening faces, one for darkening skies). This gives you maximum flexibility to refine each adjustment independently.
2. Layers with Masks (Photoshop): * How it Works: This is the most powerful and non-destructive method in Photoshop. * Create a “Curves” or “Exposure” Adjustment Layer: This allows you to apply overall brightening or darkening. * Invert the Layer Mask (Ctrl/Cmd + I): This hides the adjustment entirely, turning the mask black. * Paint with a White Brush (low opacity/flow): Paint on the black mask with a soft, white brush to “reveal” the adjustment in specific areas (dodging). * For Burning: Create another Curves/Exposure adjustment layer, darken it, invert the mask to black, and paint with white where you want to burn. * Best Practices: * Non-Destructive: Layers and masks mean you can always go back and refine or even remove an adjustment without affecting the underlying pixels. * Precision: Masks allow for incredibly precise control, including the ability to refine edges with greater accuracy. * Luminosity Masks: For advanced users, luminosity masks are a game-changer. They create selections based on the brightness values of an image, allowing you to selectively dodge/burn only in highlights, mid-tones, or shadows, leading to incredibly natural and seamless results.
3. Dedicated Dodge and Burn Tools (Photoshop): * How it Works: Photoshop has dedicated Dodge and Burn tools that mimic their darkroom counterparts. You select the tool, choose a range (Highlights, Midtones, Shadows), and paint directly. * Best Practices: * Use on Duplicate Layer: Always create a duplicate layer (Ctrl/Cmd + J) before using these tools directly, as they are destructive. Alternatively, use them on a blank layer set to “Overlay” blend mode and filled with 50% gray (this creates a non-destructive dodge/burn layer). * Low Exposure/Strength: Again, low opacity/strength is key for gradual building. * Consideration: While intuitive, these can be less flexible than using adjustment layers with masks for complex work.
Strategic Application: Where to Dodge and Burn in Monochrome
Think of your image as a stage. You want to illuminate your actors and darken the backdrop.
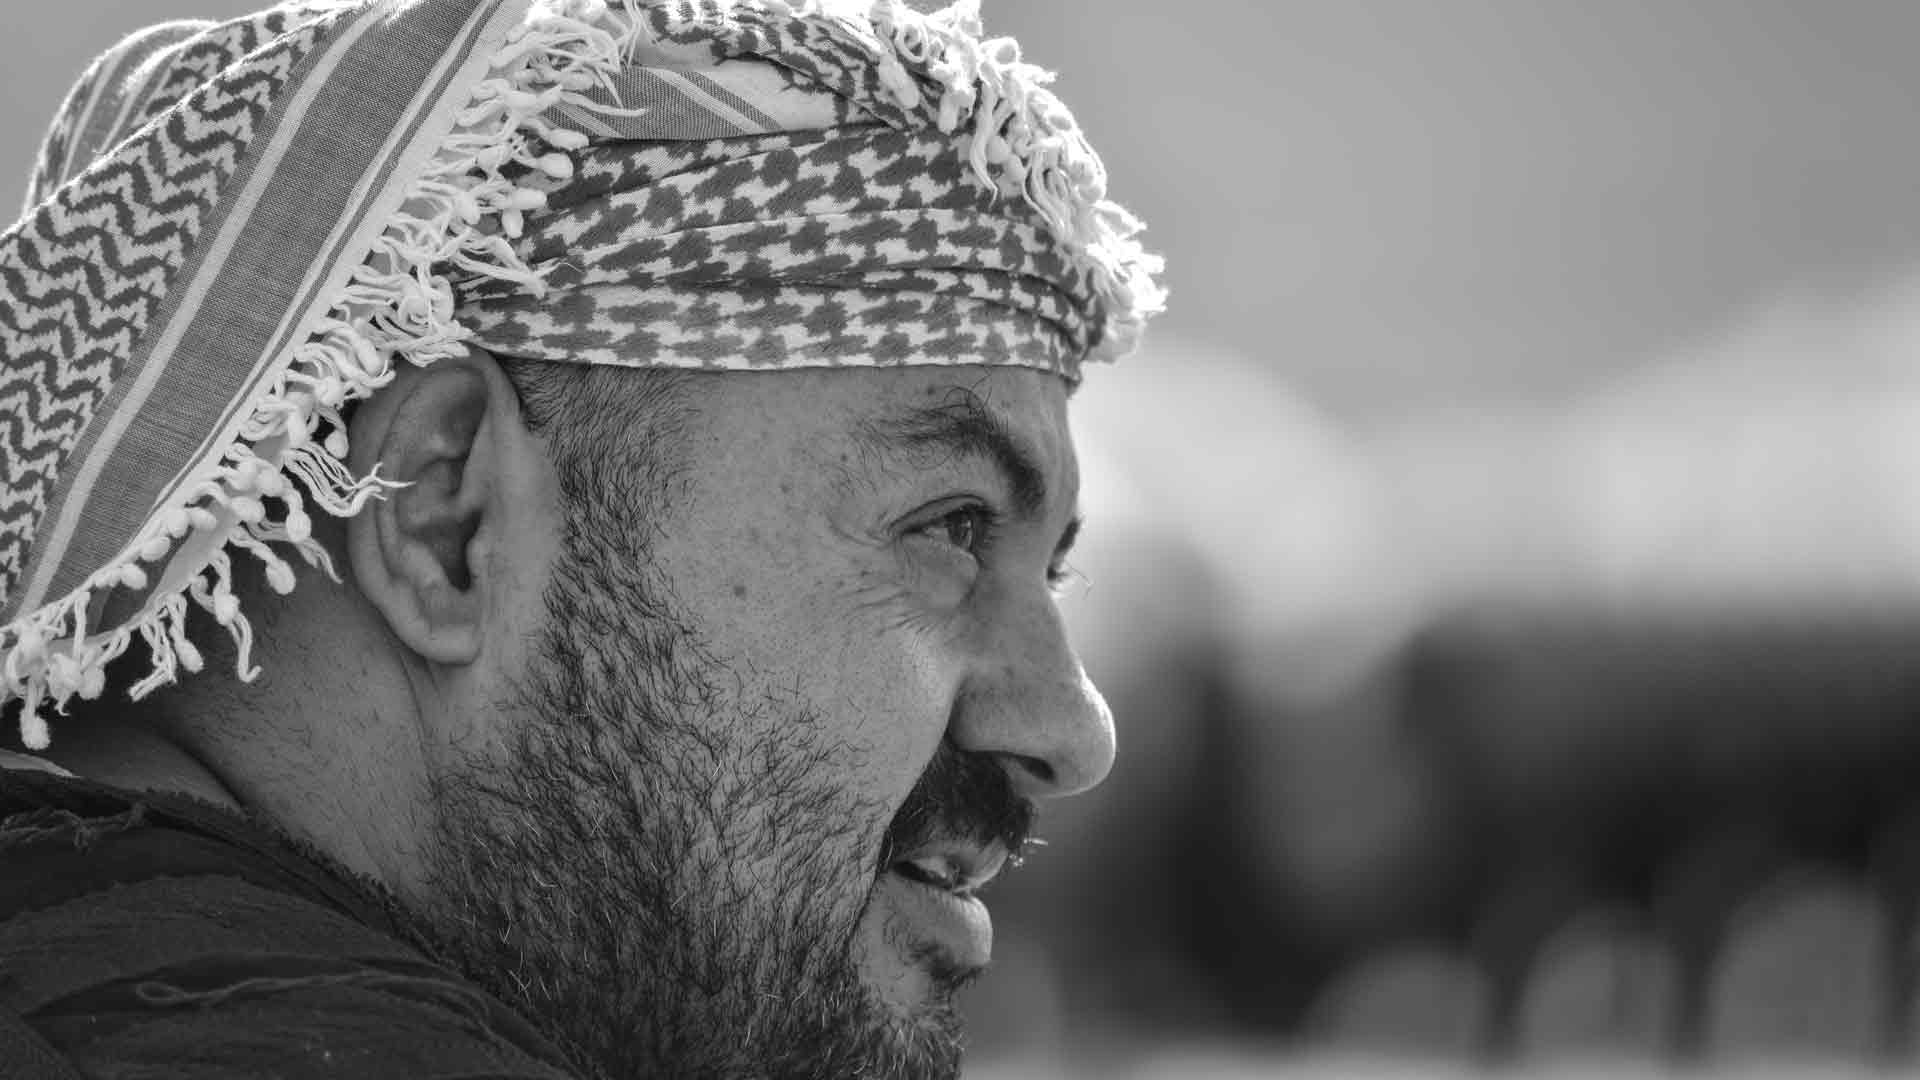
- Faces and Eyes (Portraits): Lighten eyes slightly to make them sparkle. Brighten key areas of the face to add dimension and draw attention.
- Key Subjects: Make your main subject stand out by selectively brightening it. This creates contrast against a darker background.
- Leading Lines and Curves: Enhance the visual path by lightening the lines you want the viewer to follow.
- Textures: Carefully dodge the highlights and burn the shadows within textured areas (e.g., brickwork, tree bark, textiles) to give them more depth and tactile appeal. This is especially effective for the intricate surfaces found throughout Turkey and the Middle East.
- Skies: Burn down bright, flat skies to add drama and make clouds pop. This helps separate light elements from the background.
- Edges/Vignettes: Burn the corners or edges of the frame to subtly direct the eye inwards and create a more intimate feel.
- Distractions: Darken distracting bright spots in the background or along the edges to remove visual clutter.
The “Less is More” Mantra
The biggest mistake in digital dodging and burning is overdoing it.
- Subtlety: The goal is to enhance, not to make it obvious that you’ve manipulated the image. Dodging and burning should feel natural and seamless.
- Build Gradually: Always start with a low flow/opacity and build up the effect with multiple passes.
- Check Your Work: Zoom out frequently to see the overall impact. Toggle the adjustment layers/brushes on and off to evaluate the before and after.
SEO Benefits for Turkey & the Middle East
By showcasing masterful dodging and burning techniques, you create compelling content that resonates with a specific, engaged audience in the region:
- Targeted Keywords: Use specific phrases like “digital darkroom techniques,” “sculpting light in B&W photography,” “enhancing texture in monochrome,” “advanced editing for Turkish landscapes,” or “dramatic black and white street photography.”
- Visual Demonstration: Include strong before-and-after examples that clearly illustrate the power of dodging and burning. Tutorials are highly valuable.
- Expert Authority: Demonstrating detailed knowledge of post-processing techniques positions you as a skilled monochrome photographer, attracting both aspiring photographers and potential clients interested in high-quality imagery of the region.
Conclusion
Dodging and burning, a venerable technique from the analog past, remains indispensable in the digital present for black and white photography. It transcends mere brightness adjustments; it’s the art of sculpting light and shadow to articulate your vision, guide the viewer’s eye, and infuse your images with profound drama and emotion. For photographers immersed in the unique visual tapestry of Turkey and the Middle East – with its powerful sun, intricate textures, and deep historical narratives – mastering digital dodging and burning is a non-negotiable skill. By carefully and strategically applying these techniques, you don’t just process an image; you breathe life into it, transforming pixels into powerful, timeless monochrome masterpieces that truly stand out. Embrace the digital darkroom, and paint with light.